Needle Felting Animals Made Easy: The Secret Method That Actually Works

फीचर

Needle Felting Animals Made Easy: The Secret Method That Actually Works

Getting the shape and size of a needle felted animal right is one of the biggest worries for beginners. You look at a photo of the real thing, or worse still, a finished project made by somebody else, and it is enough to stop you in your tracks. It feels too complicated, too detailed, and almost impossible to copy.

S

Scarlet

संपादकीय डेस्क

संपादक की टिप्पणी

पूरा लेख नीचे जारी है।

सेक्शन

समाज और ट्रेंड

Getting the shape and size of a needle felted animal right is one of the biggest worries for beginners. You look at a photo of the real thing, or worse still, a finished project made by somebody else, and it is enough to stop you in your tracks. It feels too complicated, too detailed, and almost impossible to copy.

Quick Navigation

The good news is, you do not need to start with perfection. In fact, the last thing you should be doing is trying to match the finished look straight away. Instead, think of your animal as a collection of simple scaffolding shapes. These are the building blocks that will carry the weight of your final project, and they are far less intimidating than trying to recreate a whole animal from the off.
Once those core shapes are in place, the rest of the work becomes much more manageable. You can add detail, blend in colours, and refine features knowing that your animal already has the right proportions underneath. That is the secret to moving past the overwhelm and building real confidence in your felting.

Working Backwards: Break Animals Down into Basic Shapes
One of the biggest stumbling blocks for beginners is figuring out how to start shaping an animal. The photos look amazing, the wool’s ready, but getting from fibres to a well-proportioned kangaroo, sheep or fox? That can raise you anxiety before you even start.

Try Reverse Engineering: Start from the Inside Out

Instead of wrestling with photos or comparing yourself to a polished project, strip the animal right back to its basics. Every creature, no matter how complex it looks, can be broken down into a handful of core shapes. A barrel for the body, a ball for the head, a couple of cones or rods for the legs. These are your scaffolding pieces, and once they are in place, you already have a solid framework that feels achievable.
This is what I call reverse engineering: starting from the inside out. You are not copying a finished surface, you are building the hidden structure that makes the animal work. By working this way, you free yourself from the pressure of getting it “right” on the first try. Instead, you focus on size, proportion, and balance, which gives you far more control over the end result.
When you look back at the finished animal later, you will see how those simple shapes have transformed into something much more detailed and alive. But it all begins with that stripped-back foundation.

Needle Felting Patterns

Want to skip the guesswork? My patterns include templates and size guides, so you’ll know exactly where to start. Browse them here

Pro Tip: Stop Looking at Real Animal Photos (For Now)

Real animal photos are brilliant for colour, texture and detail, but not for starting shapes. That’s because your brain goes into overdrive trying to copy what it sees, and before you know it, you’re knee-deep in sculpting an eyelid when you haven’t even finished the body.
Instead, search for a kangaroo outline or whatever animal you’re making. Simple, black-and-white line drawings (like children’s colouring pages) are your best friend here. They show you what shapes are actually there, without all the visual noise.

Core Shapes: The Building Blocks of Every Animal
Every animal, no matter how detailed, is made up of simple building blocks. When you train your eye to see these, the whole process of needle felting becomes far less overwhelming. Here is how to start:

1. Head

Most animal heads can be reduced to a ball or an oval. Think of it as the anchor for everything else: eyes, ears, and muzzle can only sit correctly if the head shape is sound.

2. Body

A barrel shape is the go-to starting point. It can be long and lean (like a hare), short and rounded (like a hedgehog), or plump and oval (like a sheep). This shape gives you the bulk and balance for the animal.

3. Legs

Rods and cones make up the basic scaffolding for legs. A cone works well if you need tapering, like for a fox’s leg. Rods suit chunkier builds, such as a pig or bear.

4. Tail and Extras

Most tails begin as cones or teardrops, while features like ears and wings can be added as flattened teardrops or thin ovals.

Putting It All Together

Once you have your collection of shapes, lay them out in rough proportion before you join them. Do not worry about details or neat edges yet. The important thing at this stage is to check the size and relationship between each piece. A head that is too large or legs that are too short are much easier to correct now, before you start blending and refining.
Think of it like building a simple wooden puppet: the structure comes first, then the personality follows. When your foundations feel balanced, you are ready to move on to layering on wool, adding details, and watching your animal come to life.

संबंधित कहानियाँ

अब तक के 13 सबसे अच्छे डोनट्स, रैंकिंग

अब तक के 13 सबसे अच्छे डोनट्स, रैंकिंग

फ्राइड आटा कई तरह से स्वादिष्ट होता है, लेकिन यह बेकर्स डज़न सबसे अच्छा है।

और पढ़ें »

Vanishing Starry Skies

Vanishing Starry Skies

As urban sprawl and white LED lighting intensify, fewer stars remain visible at night. But basic lighting changes can help restore the darkness.

और पढ़ें »

क्लिफ

क्लिफ

क्लिफ चट्टानों का एक ढेर होता है जो बहुत ऊँचा उठता है और लगभग सीधा होता है, दीवार की तरह।

और पढ़ें »
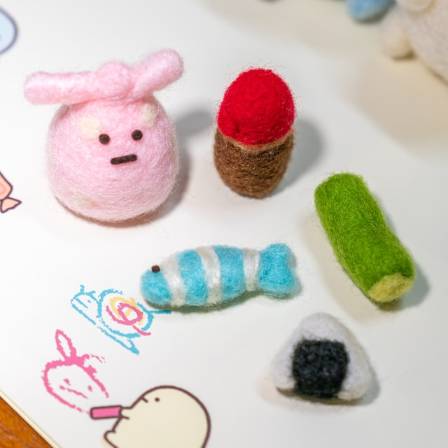
सजीव दिखने वाली मूर्तियां बनाना: सुई से फेल्टिंग करके जानवरों की मूर्तियां बनाने की शुरुआती गाइड

सजीव दिखने वाली मूर्तियां बनाना: सुई से फेल्टिंग करके जानवरों की मूर्तियां बनाने की शुरुआती गाइड

नीडल फेल्टिंग की कला आपको ऊन को भावपूर्ण, त्रि-आयामी जानवरों में बदलने की अनुमति देती है जो देखने में बेहद वास्तविक लगते हैं। चाहे आप पहली बार फेल्टिंग नीडल उठा रहे हों या अपनी मूर्तिकला कौशल को निखारना चाहते हों, यह गाइड आपकी ऊन की कृतियों को जीवंत बनाने के लिए आवश्यक तकनीकों और सामग्रियों को कवर करती है।

और पढ़ें »
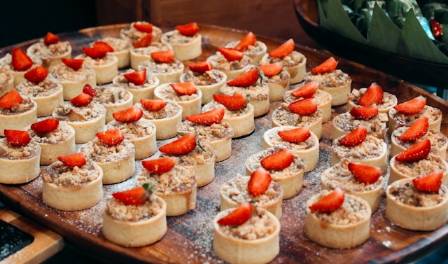
स्ट्रॉबेरी से बनी 19 लाजवाब मिठाइयों के साथ इस मौसम का जश्न मनाएं

स्ट्रॉबेरी से बनी 19 लाजवाब मिठाइयों के साथ इस मौसम का जश्न मनाएं

गर्मियों का असली मज़ा स्ट्रॉबेरी के मौसम के आगमन में ही झलकता है। जब ये गहरे लाल रंग की स्ट्रॉबेरी अपने चरम मीठेपन पर पहुँचती हैं, तो पास के किसी फार्म में जाकर धूप में पके फलों की ताज़ी फसल घर लाने का यह बिल्कुल सही समय होता है। चाहे आप परिवार के साथ वीकेंड पर बेकिंग का कोई आसान प्रोजेक्ट ढूंढ रहे हों या गर्मियों की किसी पार्टी के लिए कोई शानदार सेंटरपीस, ये उन्नीस रेसिपी स्ट्रॉबेरी की अद्भुत बहुमुखी प्रतिभा को दर्शाती हैं।

और पढ़ें »
सारा एवर्स कॉनराड

सारा एवर्स कॉनराड

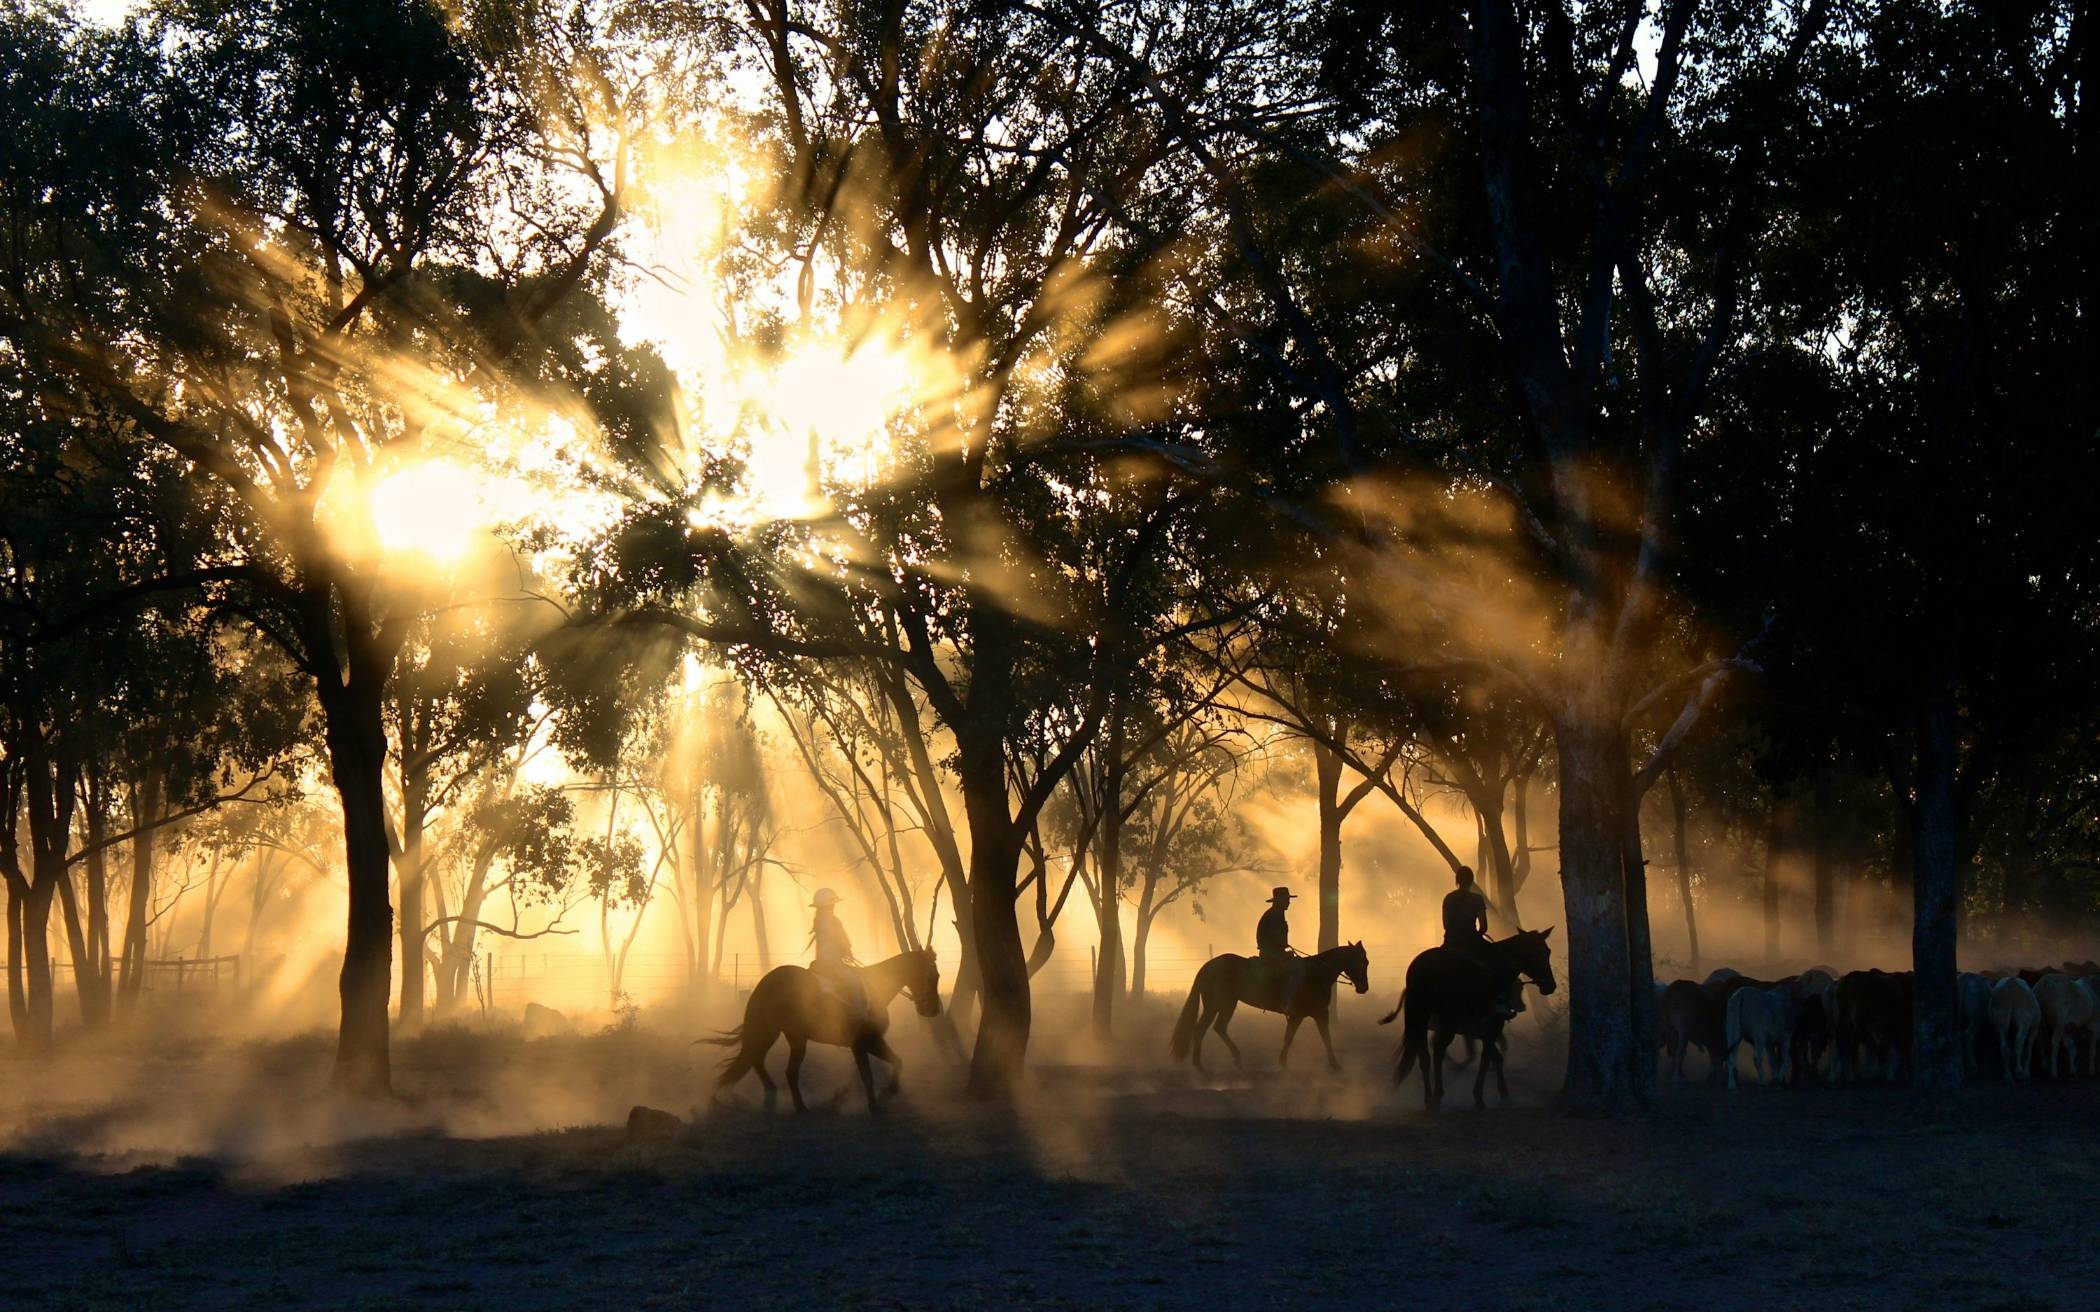
हर किसी के पास घुड़सवारी सीखने के अपने-अपने कारण होते हैं। घुड़सवारी के अनगिनत लाभ हैं और सभी घुड़सवारों के बीच साझा किए जाते हैं। यदि आप पहले से ही घुड़सवार हैं, तो आप सोच रहे होंगे कि आपको इस जानकारी की आवश्यकता नहीं है। लेकिन मुझे उम्मीद है कि आप पढ़ना जारी रखेंगे। मुझे लगता है कि मैं अकेली घुड़सवार नहीं हूँ जो ऐसे लोगों से मिली हूँ जो यह नहीं समझ पाए कि मुझे घुड़सवारी इतनी पसंद क्यों है। यदि आपके साथ भी ऐसा हुआ है, तो अगली बार ऐसा होने पर, कृपया इस ब्लॉग पोस्ट को साझा करें। और यदि कोई नया शौक अपनाने पर विचार कर रहा है, तो शायद नीचे दी गई जानकारी आपको घुड़सवारी सीखने के लिए राजी करने में मदद करेगी। मुझे पहली बार पाँच साल की उम्र में घुड़सवारी का शौक तब लगा जब मैंने पहली बार “द ब्लैक स्टैलियन” और “द ब्लैक स्टैलियन रिटर्न्स” फ़िल्में देखीं। मैं पाँच साल की थी। उस समय से, मैं घोड़ों से जुड़ी कोई भी किताब पढ़ती थी। 10 साल की उम्र में, मैं घुड़सवारी सीखना शुरू कर पाई। मेरे माता-पिता ने आखिरकार मेरी सारी विनती मान ली। घुड़सवारी मेरे पूरे जीवन का मुख्य शौक रहा है। इसलिए मैंने घुड़सवारी के कई लाभों का प्रत्यक्ष अनुभव किया है। मुझे पता है कि घोड़ों के साथ जुड़े रहने की वजह से ही मैं आज वह व्यक्ति बन पाया हूँ।

और पढ़ें »